Sewcials are Underway!

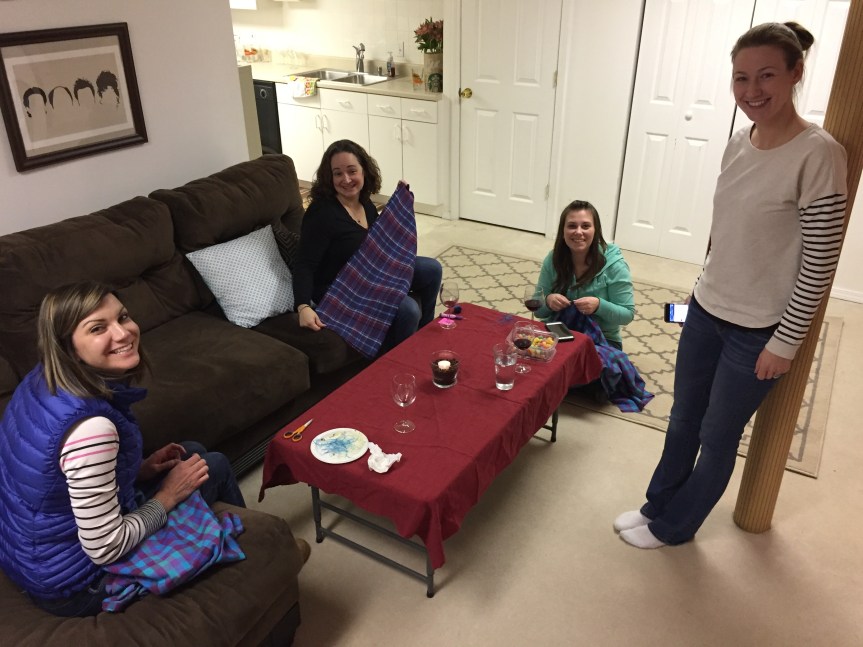
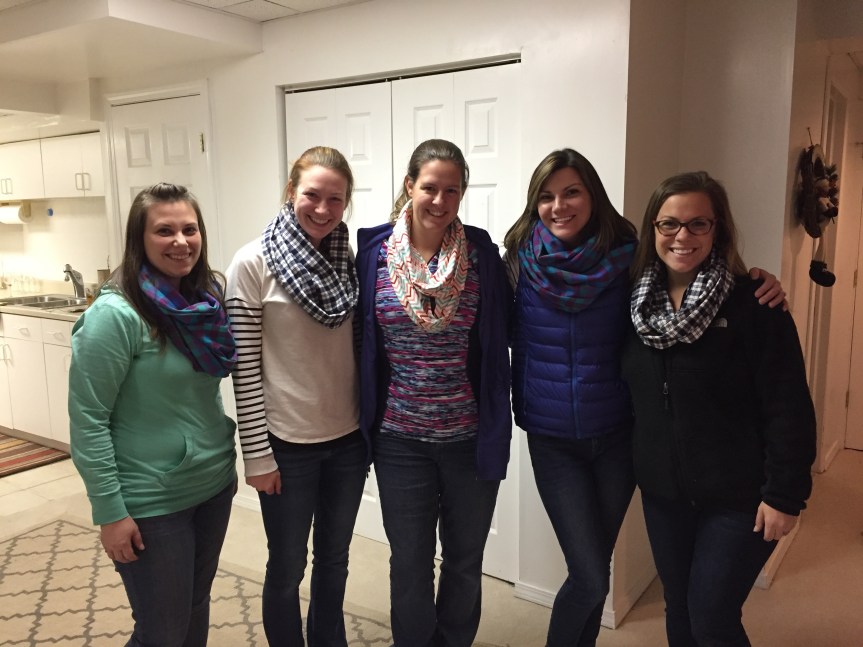
I hosted my first Sewcial Event last night!  It felt so good to see some of my hard prep work put into action!  These lovely ladies are close friends of mine who were willing to give it a go and make some Christmas presents too!  They made infinity scarves each with their own twist and custom look to it.

004
Ali and Teresa pressing and pinning!
007
Kristen, Ruth, Heather and Lindsay all fraying away at their scarves.

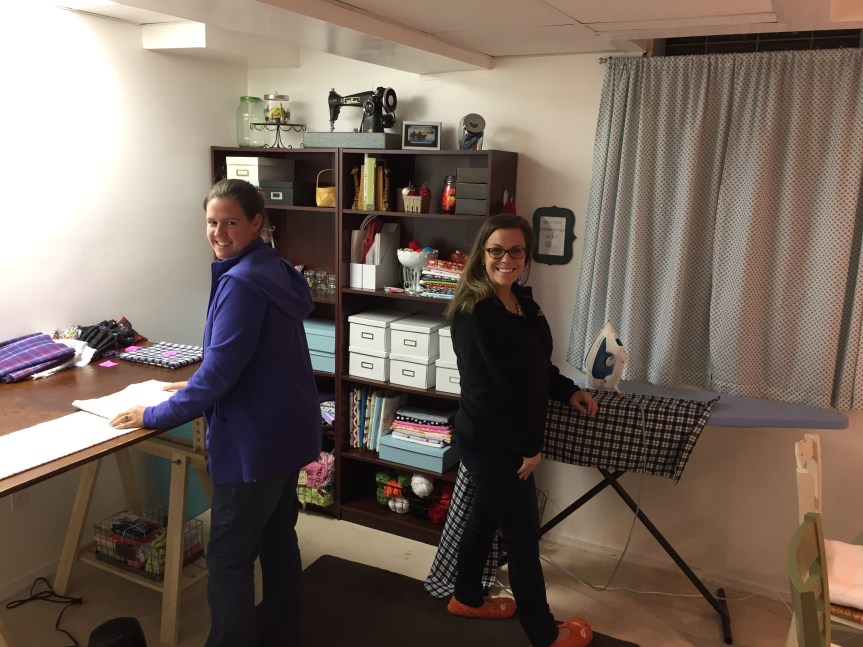
The studio was a success, even with my blown fuse, gummed up sewing machine and all!

011
Teresa, Ruth and Ali sewing away!

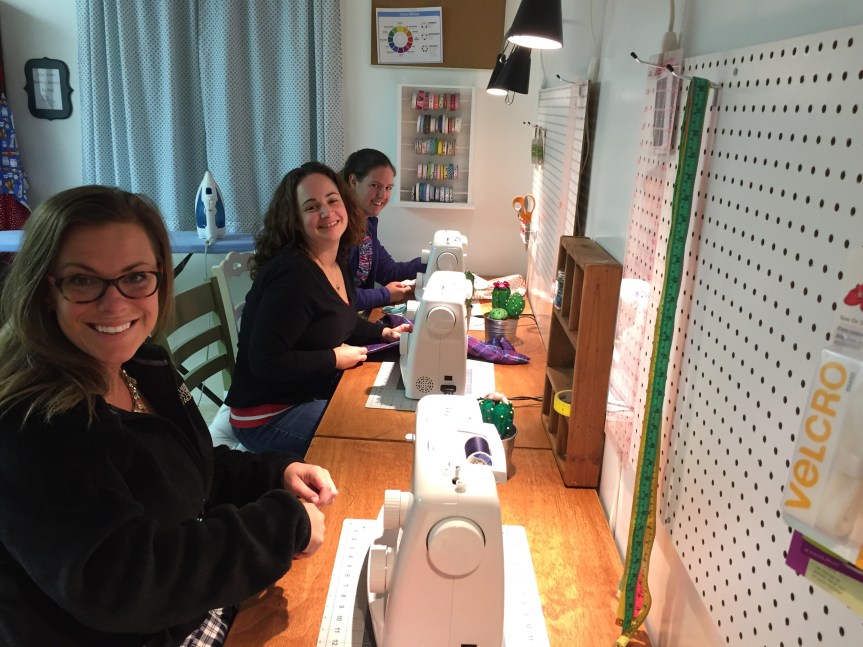
A huge thank you goes out to my friends who are willing to take a chance and try something new.  I found out that sewing, especially on a machine can be intimidating, and that because it’s so foreign people don’t want to try it.  I also found out that 8th grade home-ec did not prepare some for the real world of sewing.

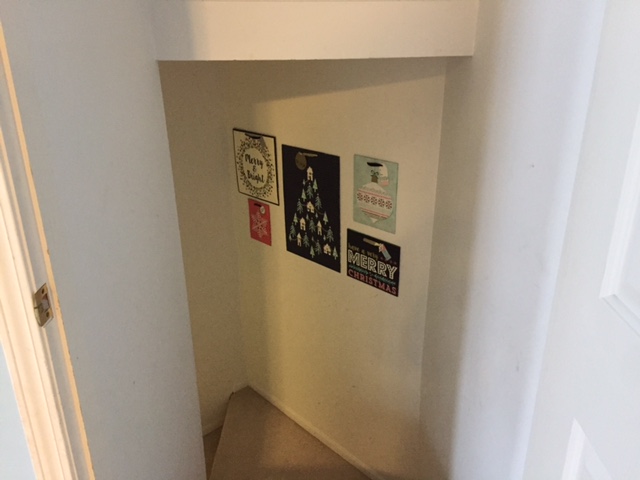
I have a sign in my studio that I painted and it looks like this:

img_7949
“Creativity takes Courage.” ~ Henri Matisse

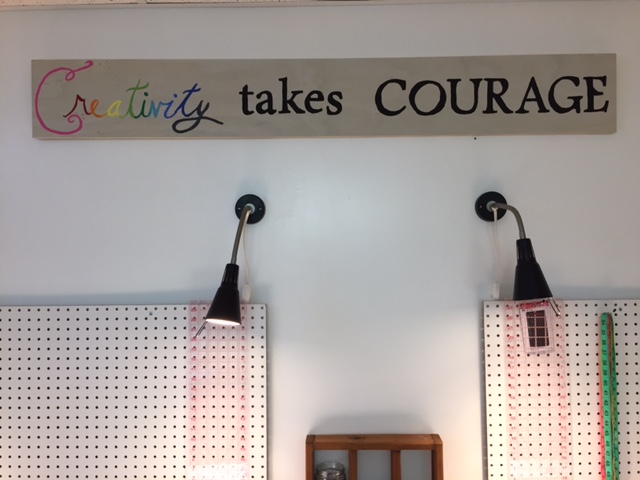
And it’s so true!  Step out and try something new.

013
Heather, Lindsay, Ali, Kristen, and Teresa model their new infinity scarves.

Contact me to book a Sewcial Event with you and your 7 closest friends or family.  sarasayssew@gmail.com or find me on Facebook!

Gift Certificates Available

fullsizerender-1

Are you looking for a unique Christmas or holiday gift this year?  Shop local and give someone the gift of creativity!  Contact me at sarasayssew@gmail.com or through my Facebook page to reserve your time slot.

Included in your lesson is a tutorial on how to use your machine, basic stitches and completing a simple project from start to finish.  I can come to your home or you can come to my studio space, whichever is more convenient.  The best age to start sewing is around 6 or 7, but there is no better time to start than now!

Please contact me directly to reserve your place, gift certificates are $50 each.  The first 10 people to sign up for a sewing session will receive a card for a FREE Funky Bundle.  Funky Bundles are coordinating fabrics that are less than a yard, but great for smaller sewing projects or to practice stitching.

I hope to hear from you soon!

Quick Christmas Gallery Wall

Do you have an ugly, blank wall you’d like to liven up and make festive?  I made this gallery wall in about 30 minutes and it cost me less than $20.  It’s in our basement stairwell, thus why it’s so dark.

Originally I was going to cut all the strings and tags off, but I like that you can see it’s a gift bag.  I simply pulled the strings as tight as they’d go and secured them with painters tape on the inside.

Decide which bags you’d like where in your lay out; a  good rule to follow is that odd items are more pleasing to the eye.

img_7793
Chose a layout.

Start by taping the bag on the inside top flap and the bottom flap to the back of the bag.

img_7794
Tape the bag together at the top to keep it from opening.

Then tape the back using 6,000 pieces of rolled painters tape.  It’s important to change the direction of your tape as you’re laying the rolls down.  I’ve found that about 1″ rolls work the best.

img_7796
Be sure to alternate the direction of your tape as you go, it helps hold it secure without slipping out of the tape roll.

I like to start in the middle when making a gallery wall, so I hung the biggest bag first and worked off of that one toward the sides.  Top to bottom.  I just eyeballed these for levelness and distance.

img_7801
Here’s what it looks like from the top of the stairs.

I’m really happy with how this turned out!  You can use the bags for giving gifts when you’re all done or in a pinch!  There are so many adorable bags out there, give it a try!


Cutting Table Construction

The studio is coming along nicely.  I’ve been working on getting my cutting table done.  It’s 60″ x 40″ so it will fit a whole yard of fabric nicely.

img_7553
The ever helpful guy at Home Depot making cuts for me.

Home Depot will make the first 2 cuts free, this gentleman was so helpful! Plus I kept the salvage pieces for future projects.

img_7699
It’s very important to wear ear protection when using power tools. In this case, Elsa & Anna headphones.

It’s a piece of 3/4″ Radiata Pine Plywood, the same as I used for the workstation desk top, but this piece for some reason was a bit more finicky and was harder to work with.

img_7721
I’m not that experienced with selfies, I never know where to look.

It took me 2 coats of stain and I was doing it outside in 40 degree weather.  I know, I should’ve just done it in the basement because it took FOUR days for the top coat of stain to dry even after Josh and I moved it inside after day 2.  And even then I couldn’t wait so I sanded and sealed it when it was a bit tacky in one corner.  I used Feed-n-Wax as the sealant because I like the natural finish better than polyurethane (and it smells better).  And I’m really impatient and couldn’t wait to get it into the studio space.

The table top sits on these two trestle legs from Ikea.  The trestle legs are height adjustable which will be prefect for when I’m teaching a kids’ sewing class.  I haven’t attached it yet, but I will do it in the near future.

img_7769
Cutting table finished!